How To Create A Personalised Wall Calendar
Creating your own personalised wall calendar is a great way of bringing your pictures to life or creating a unique gift for a loved one and it’s something anyone can do. They are also a good way of remembering birthdays and anniversaries, as well as special memories and days of the year.
The great thing about creating your own wall or desk calendar is that there are customisation options, which mean you can choose to highlight special days or dates which are important to remember. From pictures of your wedding day or your child’s christening to snaps of your car to remind you to renew your insurance, there are endless possibilities. Calendars come in a range of sizes and finishes, so you can get exactly what you want delivered to your door in just a few days.

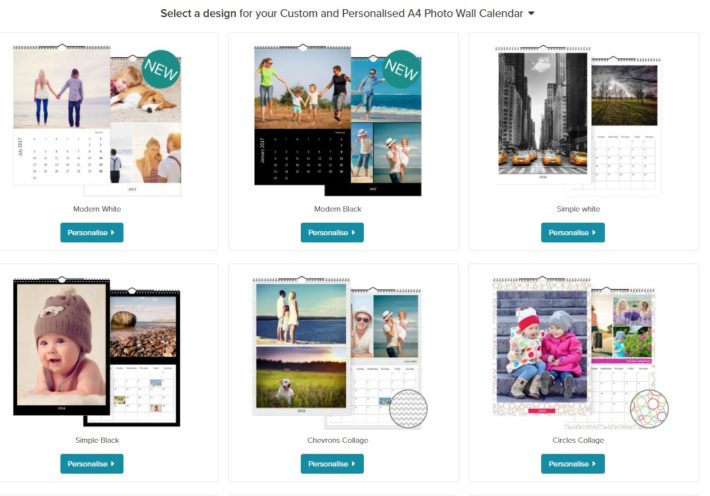
Before you start, decide which size of calendar you want. You can choose from A3, A4, desk or square templates. Have a look at them to check how much space is devoted to your treasured photographs and how much is underneath for writing down dates and things to remember. Decide if you want a calendar which shows a week or month view and if you want individual spaces for each member of the family. Also have a look at the different photo layout options, which allow you to have one photo per page or several, in both portrait and landscape.

There are a wide range of backgrounds and borders to choose from too, so you should find something which fits with your décor, whether modern or traditional. Once you’ve chosen the size, you can look at the type of paper or card options. You want to show your snaps off to their best, so may want to choose a thick silk art card. Also look at how the pages are bound together and whether they come with a thumb hook, which allow you to hang it on your wall easily.
If you haven’t done so already, you’ll then need to look through your photographs and select which ones you want to include. You can easily upload your snaps and save in a folder before you make the final decision.

Once you’re ready to start creating, you’ll be given the option of which month your calendar starts in and whether you want the week to start on a Sunday or Monday. When this is done, you’ll be taken to a screen which shows the first page, with a column on the left for uploading your pictures before dragging them onto the spaces on the page. You can play around with each page until you get the best photo for each space, before customising any dates you want with your own text or photo simply by clicking on it. When you’ve checked each page and you’re happy with it, you can finalise your design before paying for it to be printed and sent to you.


